
The Atari/Lego Challenge
This year is Atari’s 50th anniversary, and Lego has released a set honoring the system that made Atari a household name – the Atari VCS, AKA The Atari 2600. My editor sent me a link to the Lego Atari 2600 set along with the comment, “Wouldn’t it be cool if it worked?” Gauntlet laid.
Can we Pinocchio a Lego 2600 into the Real Thing?
Challenge accepted.
Lego order sent!
But this time, we’re doing things a little differently than we did with the Atari 800 in Going online Like it’s 1979, or the Portfolio in Going Online Like it’s 1989. Rather than using retro tech like its modern counterparts, we’re going to get some modern tech to behave like retro.
What that means is: we’re going to get this modern, awesome Atari 2600 made out of Lego to play like a real working Atari 2600.
And better yet, we’ve made a video and step-by-step instructions so you can do it too.

The Atari in a nutshell
“The Atari” is one of the most iconic game systems ever made. While not the first video game console ever made (that would go to either the Magnavox Odyssey or the Fairchild Channel-F), it’s certainly the one that brought home gaming to the masses. Much like FPS games were originally called DOOM clones, Atari was synonymous with video games in the late 70s/early 80s.
Playing Atari meant playing games. The VCS is the only console to be sold in three separate decades – 1977 to 1992. Gaming today is built on the foundations laid by Atari.
Did you know: When it debuted in 1977, the Atari was actually named The Atari Video Computer System, then shortened to Atari VCS, before being officially retitled the Atari 2600 in 1982.
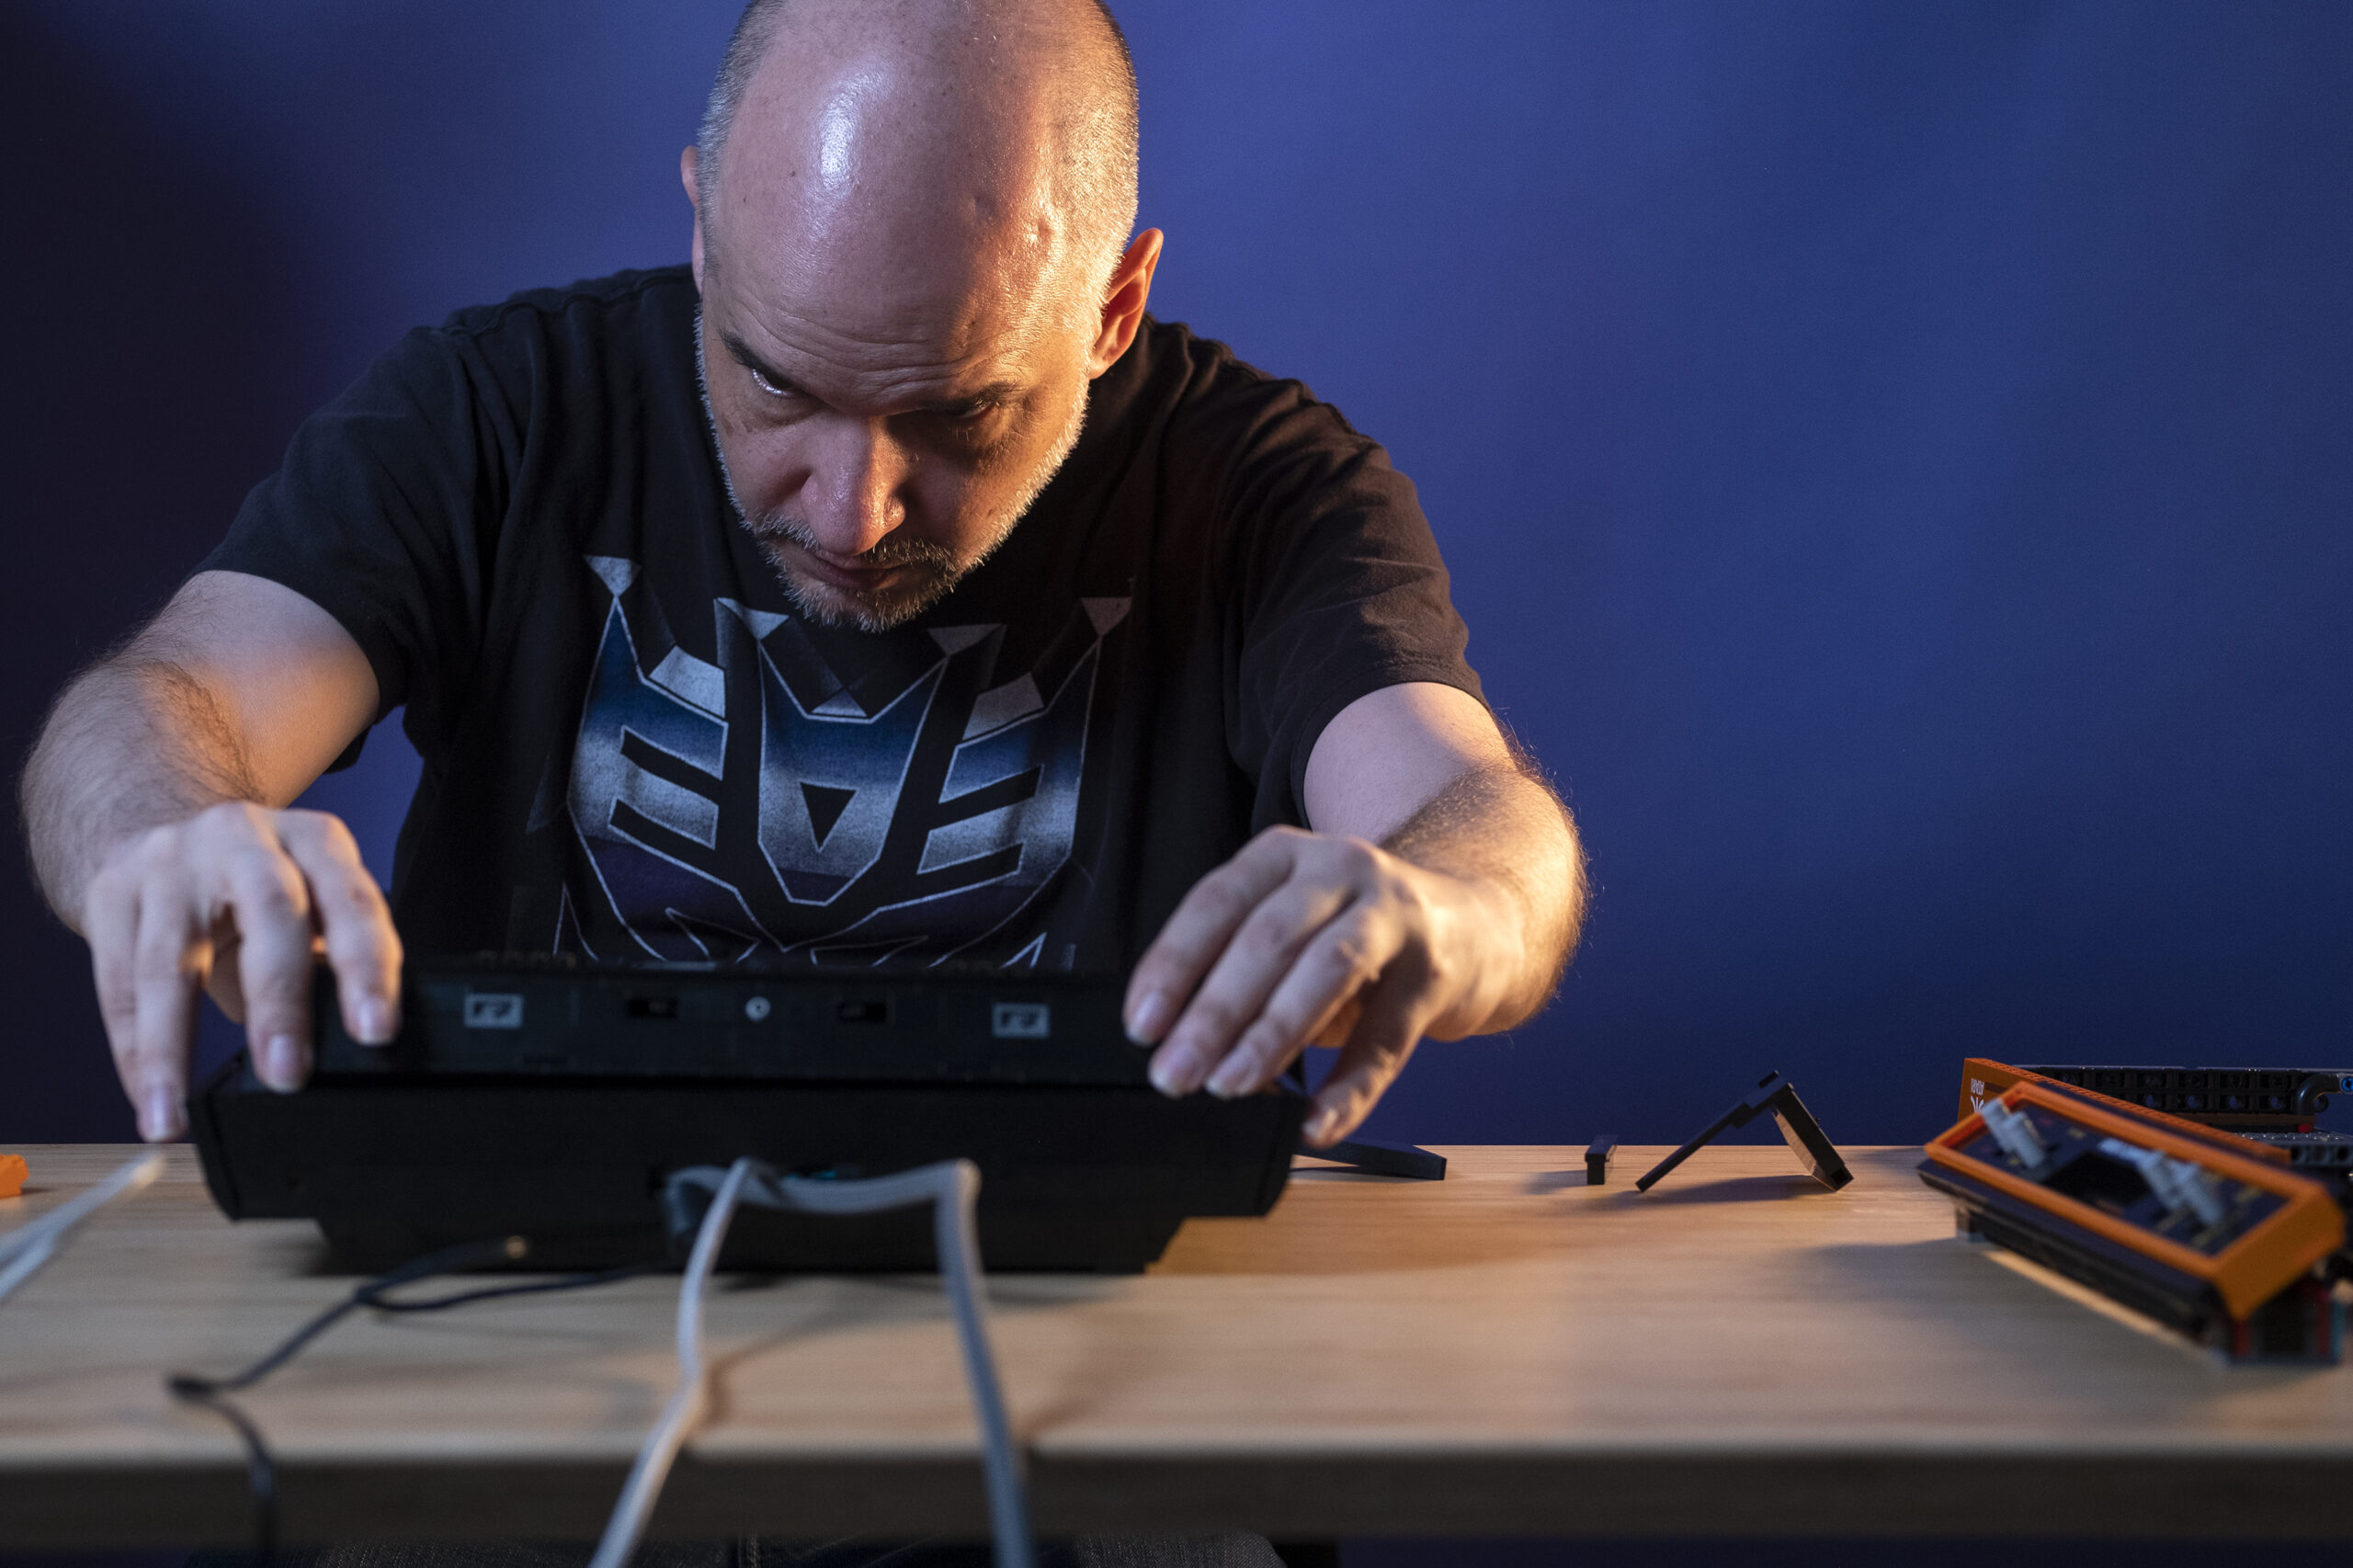
Step One: Gather the Parts
We need to start, no surprise, with the Lego Atari itself. All 2,532 pieces of it.

This thing is ridiculously detailed, and filled with easter egg nods to the original. For example, did you know that Atari invented actual “easter eggs” in games? As an homage to that, the Adventure cartridge in the kit has a little hidden egg on the back.
For sanity’s sake, we’re skipping over the build (it took me about 4 hours to complete). There are plenty of build videos over on Youtube if that’s your thing. But for us, the assembly will start assuming you’ve got your Atari together.
We’re also going to need something that can emulate an Atari and is small enough to hide inside an empty Atari case. That’s where a Raspberry Pi 3 with a Lego-compatible case comes in. Why not a Raspberry Pi 4? Try to get one of those right now…. I already had the Raspberry Pi 3 laying around from previous projects, along with the Lego-compatible case.
Step Two: Build (Video)
The build itself isn’t too complicated, but there’s a number of small parts you’ll need to pop out to make room for the Raspberry Pi. So, we’ve put together this cool video to help you follow along!
Still with us? Sweet.
Step Three: Set Up
Now that we’ve got everything assembled and powered on, we need to program the Pi as an emulator. Don’t worry, this is all very cool and legal.-ed
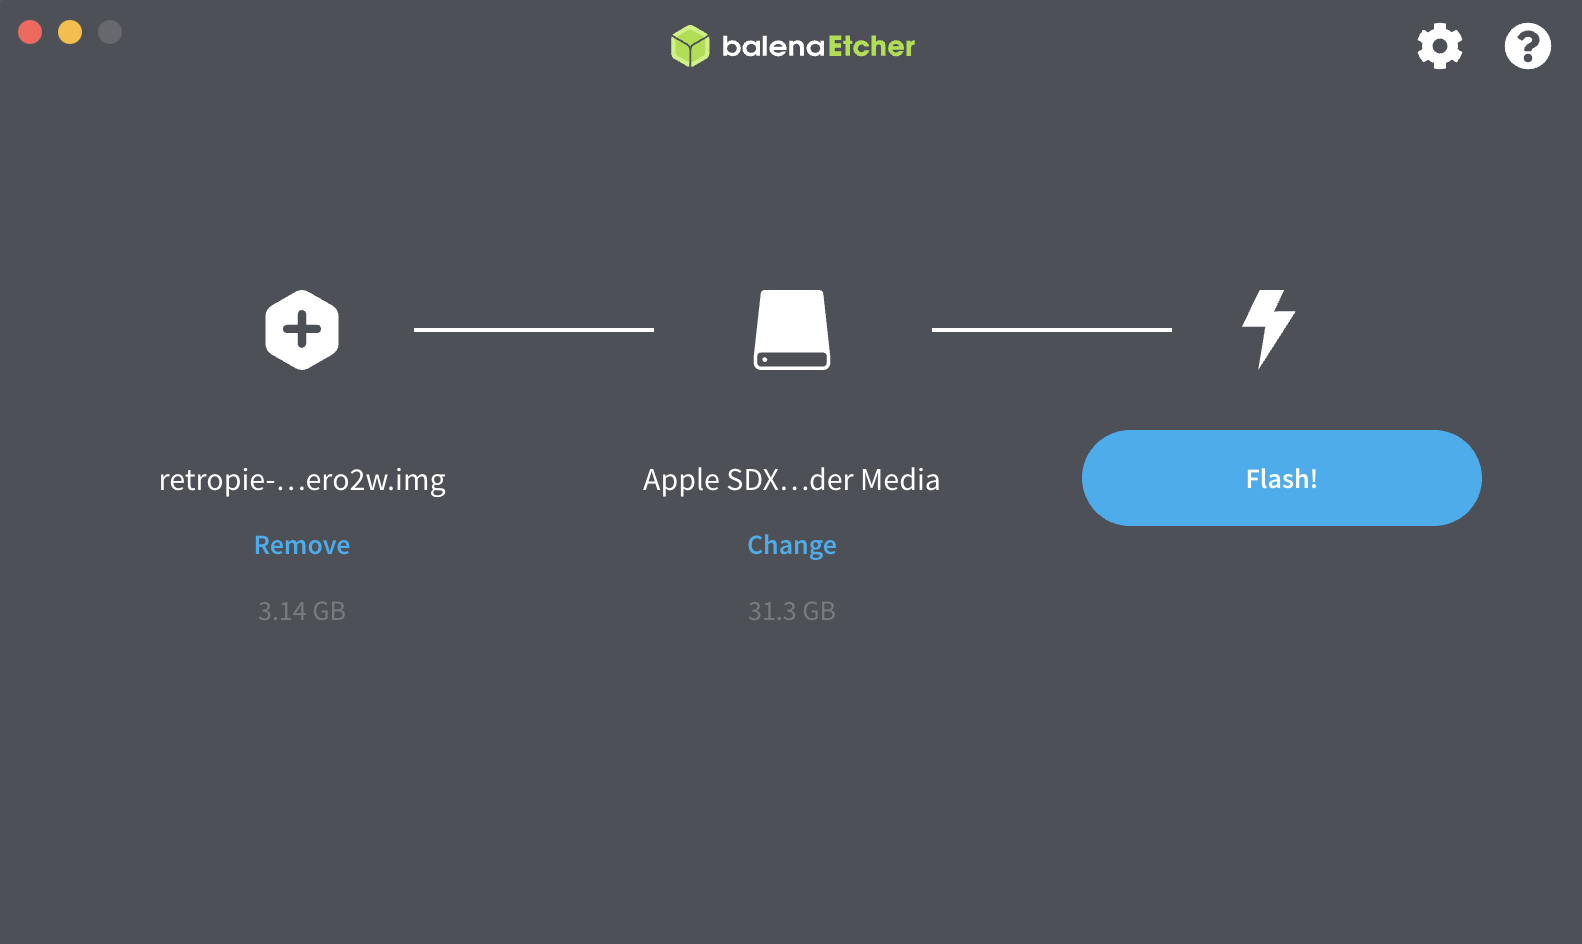
First, we need to put an OS on the Raspberry Pi. There are a few choices available for emulation focussed OSes, but I’m going to use RetroPie for this project.
We’ll need to download the image from https://retropie.org.uk/ and then flash the image to a micro SD card. To flash the image, I’m going to use BalenaEtcher.
More video! Follow along to set up the first boot processes and map your controller!
Retropie automatically creates folders for games for each system and then shares them via SMB. I’m going to copy the three games that the Lego Atari came with – Adventure, Asteroids, and Centipede.
Heck yes! We did it! Not only do we have an amazing-looking Lego Atari 2600, but we’ve got a fully-functioning one too!
Got any questions on how to get yours up and running? Leave us a comment below.

Bonus: Can we monitor the LegTari (that’s what we’re calling it) with Auvik?
Since our Lego Atari 2600 is on the network – let’s monitor it with Auvik.
RetroPie has SSH disabled by default, so let’s enable that first so that I can easily access the Pi’s command line remotely from my Mac.
Now I can SSH into the RetroPie. Let’s enable SNMP
First, let’s update:
sudo apt-get update

Then install the SNMP daemon:

sudo apt-get install snmpd
And let’s edit the SNMP configuration file (/etc/snmp/snmpd.conf)
# this will make snmpd listen on all interfaces
agentAddress udp:161

# a read only community 'auvik' and the source network* is defined
rocommunity public 10.0.10.0/24
Last, let’s restart the SNMP service.
/etc/init.d/snmpd restart
And would you look at that? The Lego VCS now shows in Auvik:

Your guide to selling managed network services
Get templates for network assessment reports, presentations, pricing & more—designed just for MSPs.


OMG!
I want this! Thru the years, I’ve owned everything but the ST-line. Starting with the Atari VCS circa ’77, then the Atari 800 in ’79, then an 800XL in ’83 or ’84. During my Atari days, I played around with the Apple II & later the IIgs, and the TRS-80’s starting with the Model 1. Woah man, the memories! In fact, I started with the TRaSH-80 and initially learned to code on it. Add to that the PC-XT’s in the early 80’s, along with building my first Novell ELS-Level 1 network. Man, how time flies. But and I must give them mad props, Amiga won my heart. No, not the Commodore, the real Amiga. The 500, the 2000, and the 3000 all had me sat in front of them. What a machine! Don’t tell the wife, but I still have my original Atari 800 and the second Amiga I bought, my little 500. The 80’s were the best!!!